We started this task yesterday and managed to get all the gaps filled which was our priority. We had to finish as it was time for the chickens to have a bit of quiet wind down time before bedtime, so left the tidying up of edges until today.
I had the easier job of adding more cable ties between the existing ones and luckily we already had these left over from the original job.
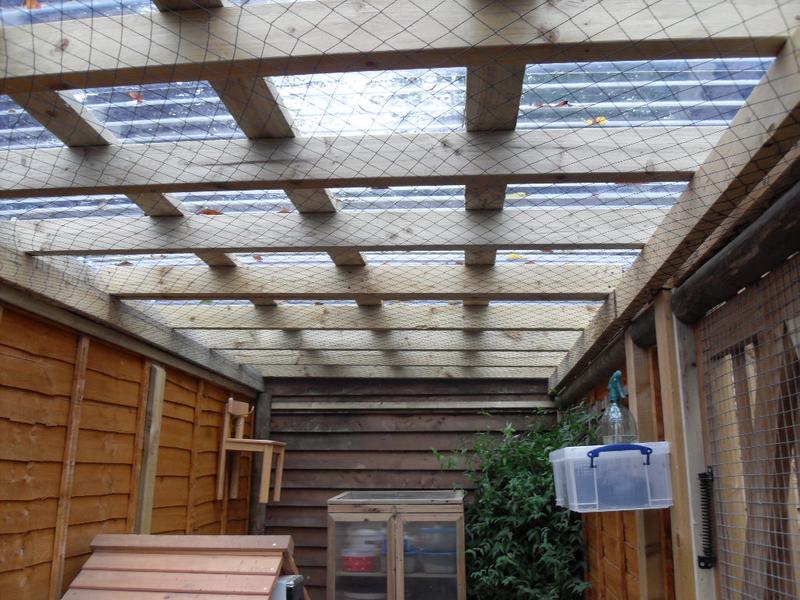
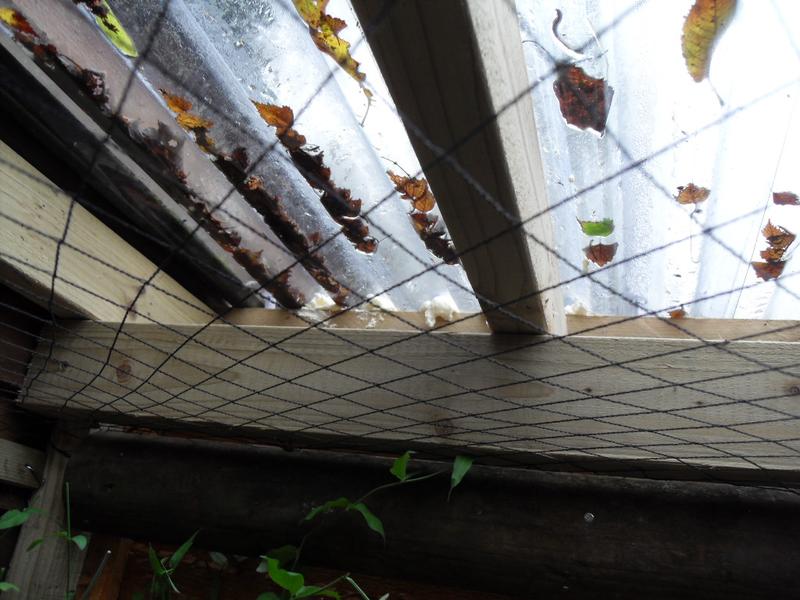
The difficult task was filling the gaps in the plastic corrugated roof. My husband had the idea of squirting in some insulation foam so we bought a tube of this and some wood for the gate. Husband soon found the foam wasn’t going to work. It was really tricky to get the right flow and without a back to the gaps there was nothing to stop it falling through the other side. It was also really awkward to reach the gaps, he soon had as much of it on himself as in the roof. We tried to think of something else. I wondered if we could cut discs of wood to fit the gaps but husband said this would be impossibly time consuming and there was nothing to fix it to. He then had one of his brainwaves. We could use the chicken net we had left over from the original job to create a false ceiling underneath the corrugated roof. Luckily we had enough net leaving just a small amount over in case repairs are ever needed. We set about pinning it up, first with drawing pins to get it in place then with nails. He said he would later tidy up the end with strips of wood but wanted to get on with the gate before it got too late.
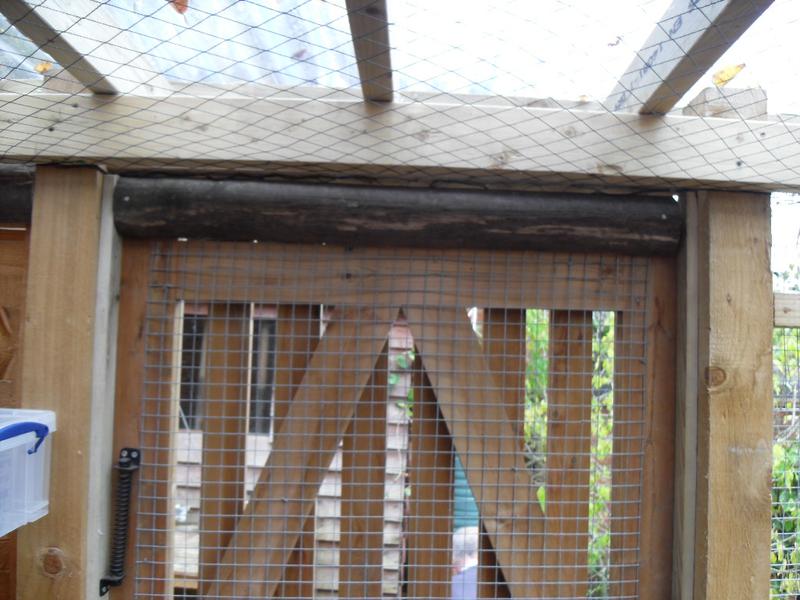
My Husband nailed strips of wood down the sides inside the gate and on the bottom of the gate. He then nailed a log to the top of the gate. The logs came out of the garden when we were making changes and were saved for any future use.
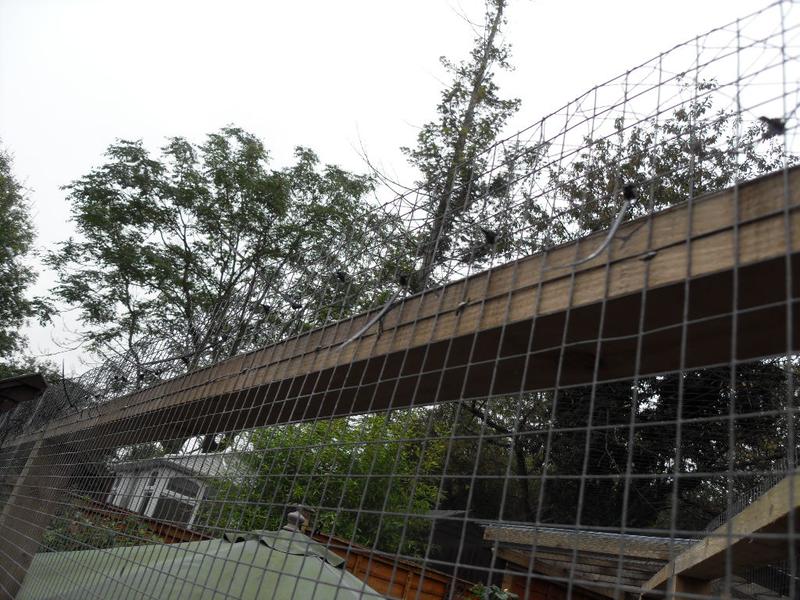
We felt this was all as rodent proof as possible as now the biggest gaps are in the weld mesh itself. I measured these and was surprised that they are an inch square. We are not sure if a mouse can get through weld mesh but are sure that now nothing else can get through.
This morning when I went out to do my chores there was no sign of any droppings. We set to work finishing yesterdays task. My husband tidied up the edges of the net by using strips of wood on two sides and the logs on the other side to match with the door. We then moved the coop out and I swept and cleaned underneath it as well as the rest of the patio area. I then emptied the store cabinet and cleaned out the mouse droppings from underneath it. When it was back in place my husband pinned strips of wood round the bottom edges so that no mice could get under it. I will now know if all this has worked if I see any further droppings as we have given it a good spring (or should I say autumn) clean.
We feel we have now done everything we can and I will be looking out for any more droppings. We seem to have put in so much work on our chicken enclosure and my husband always says this must be the finished job by now! We feel sure we have filled all the gaps now and I will report if I find any mouse dropping as this the only thing that may be able to get through weld mesh, but I am hoping not.

 Click here to see the history of my flock.