Last summer we paid off our mortgage and we are slowing down our business as we head towards semi retirement. My husband will get his pension next year, although it will be another ten years before I get mine. With this in mind we want to get any works needed on the house and garden done while we are still working full time.
We need to get our garden path done some time this year as it is cracking up and we would like to make some changes to our sitting room. But for now we want to have a new floor in our dining room.
We have wooden floor boards throughout the house which we have sanded and varnished but the dining room has a sort of parquet floor. This has been sanded to within an inch of it’s life (we have sanded it twice since we have been here) and the blocks are now so thin that they are coming out and it will only get worse.
The other thing that prompted us to do this now was that Homebase had a half price sale on their wooden flooring until March. Our next door neighbour is a handy man and we will pay him to lay the floor but we needed to get the boards while they are half price. Our neighbour said to store them in the room they are going in so that they are at the same temperature as the room.
We bought them in the last week of February even though our neighbour isn’t free to do the work for three more weeks as we didn’t want to miss out on the sale price.
The boards and the underlay came to three hundred pounds which we thought was very reasonable. Carpet would probably cost more. The underlay will go on top of the parquet flooring and then the boards on top. It will be a floating floor and the boards slot together so there are no nails.
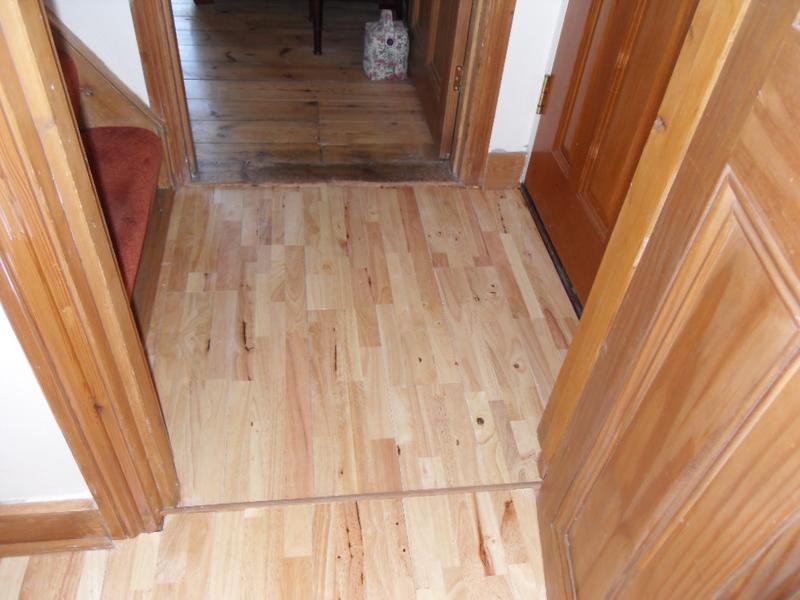
The old floor went from the dining room and into the small space in front of the front door. There is concrete under the dining room floor but floor boards by the front door. My husband had to take up the floor in front of the front door as if we laid the new floor on top it would be too high creating a small step.
It was a mission taking this bit of floor up as it went under the door frame and caused all sorts of problems but my husband has now fixed the problems and repainted the dining room in readiness for the new floor.
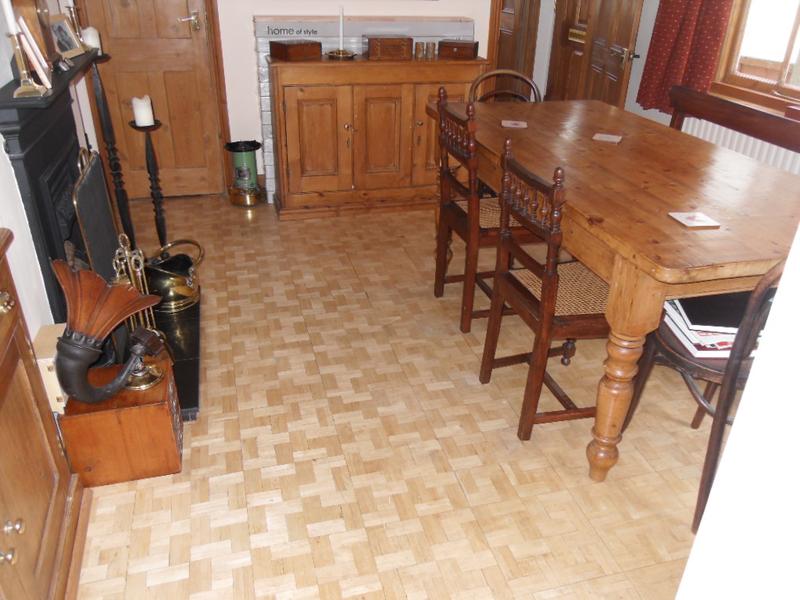
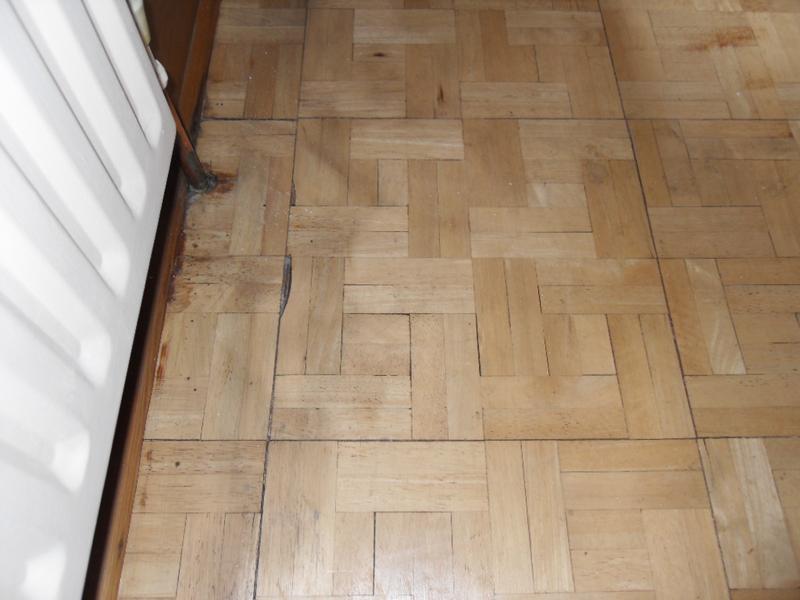
The old floor
It doesn’t look so bad in a photograph but there are bits missing all over and the lines are now quite dark.
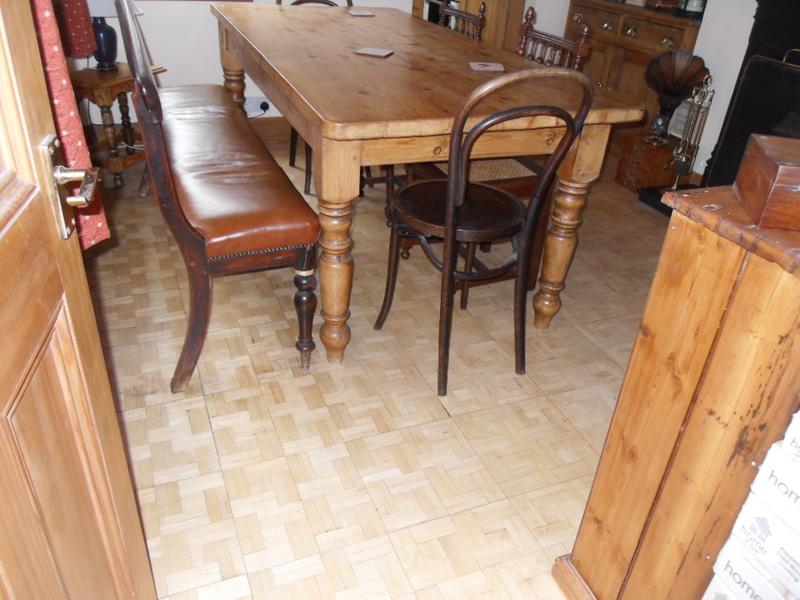
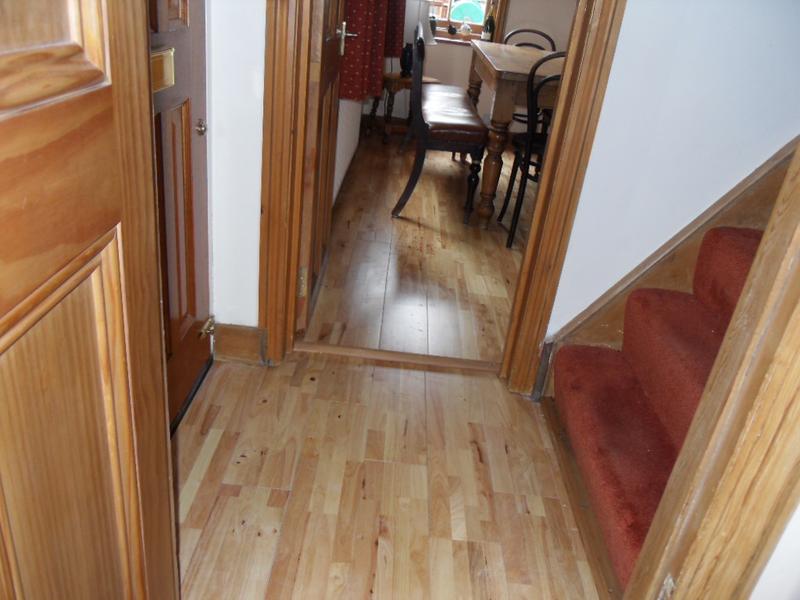
From the other direction
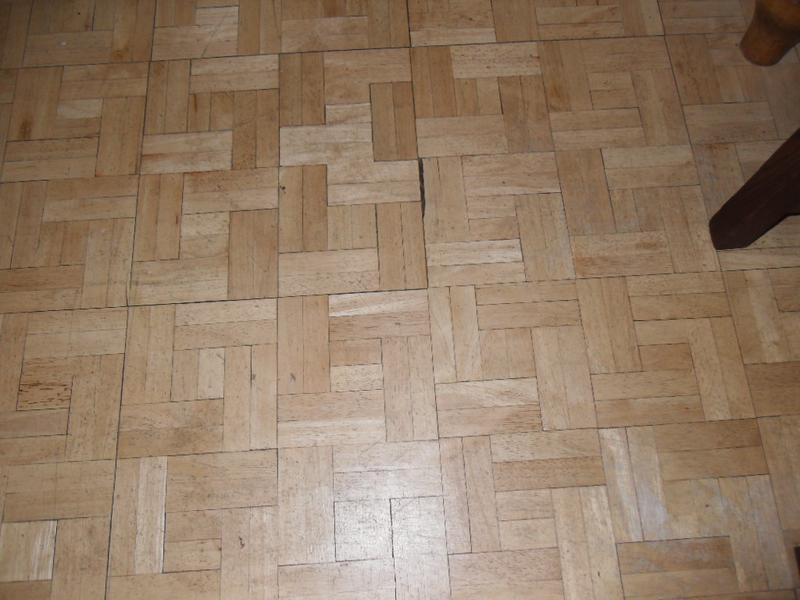
Close up
Bits missing
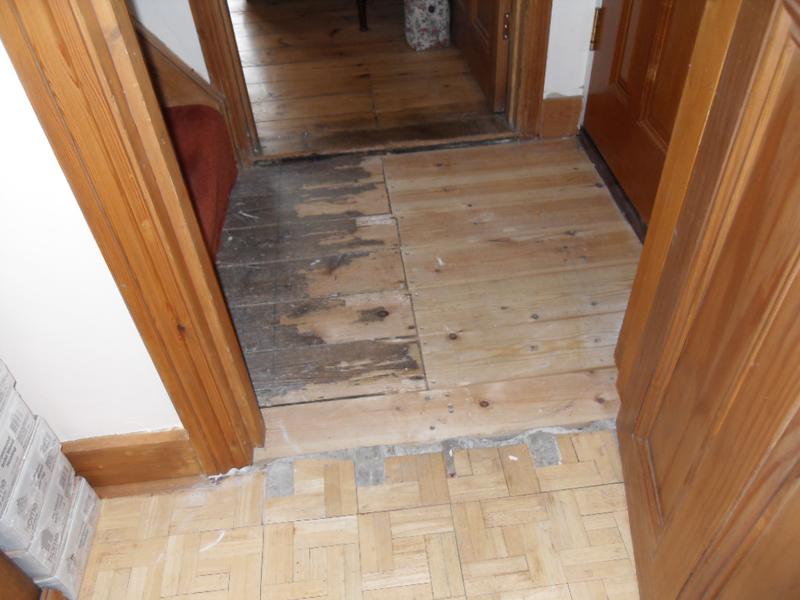
In front of the front door
We will continue the new floor through here as before because the boards have been cut in a line for pipework and there are loads of screws. We will have a threshold at the dining room door like the one at the sitting room door.
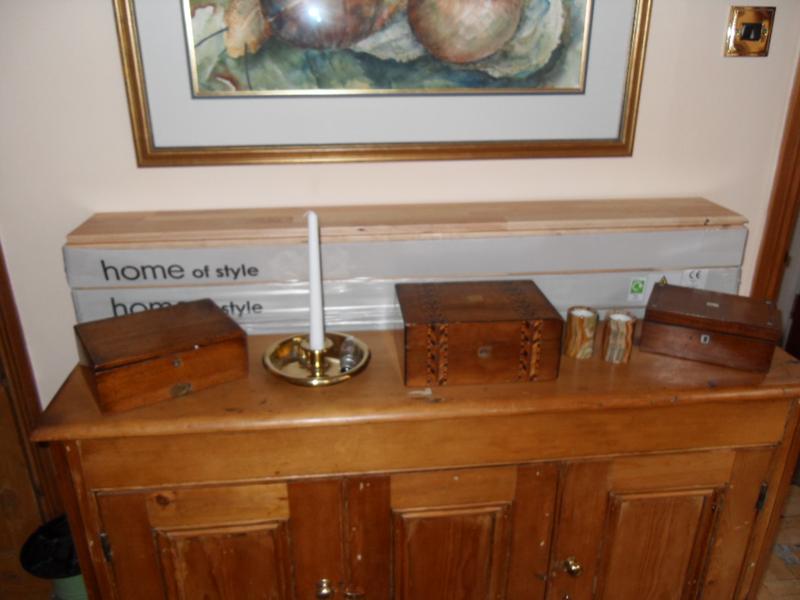
The new floor is stored behind a piece of furniture
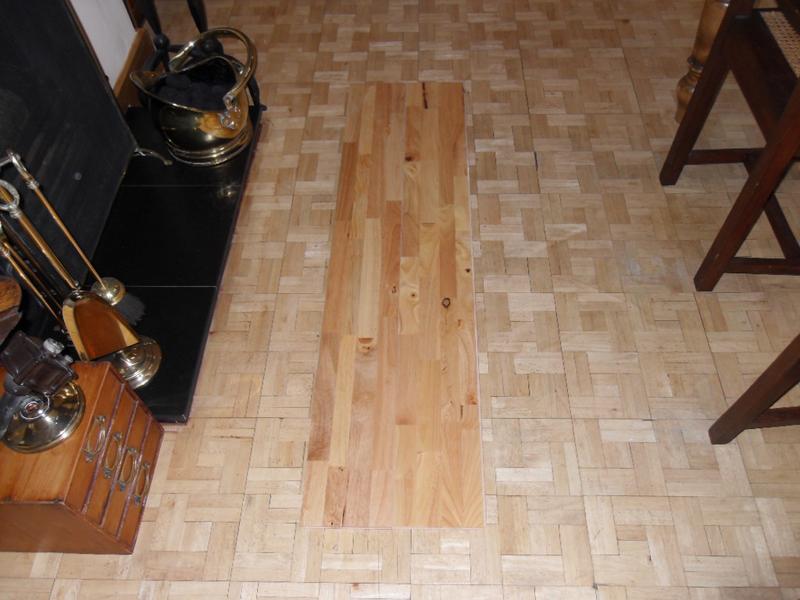
Comparison between the the new boards and the old floor
We wanted to keep to a similar light colour as it keeps the room light and contrasts well with our furniture. There are two boards in this photo which I have laid side by side instead of staggering just to give a comparison of how different they will look. It will smarten the room up. We are looking forward to having our new floor but dreading the upheaval.
Today work begins
At half past eight our handy man began his work.
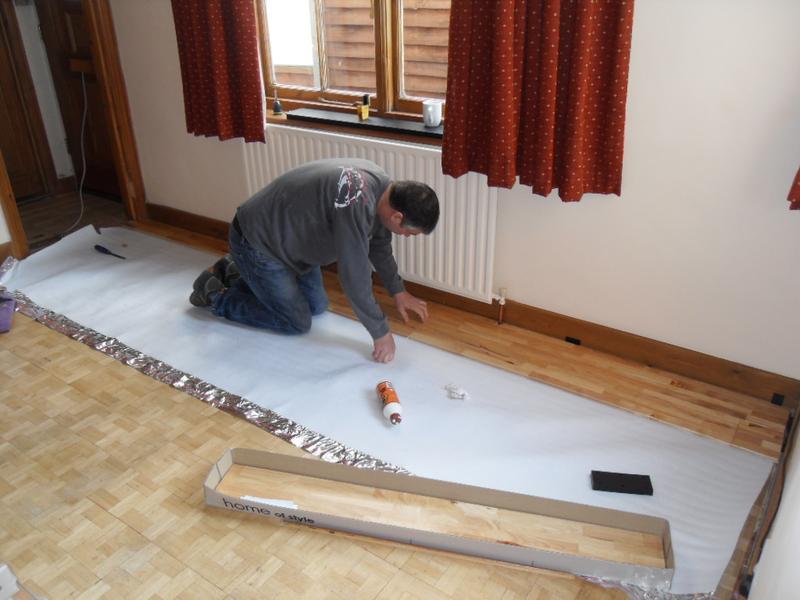
The first boards go down on top of the underlay
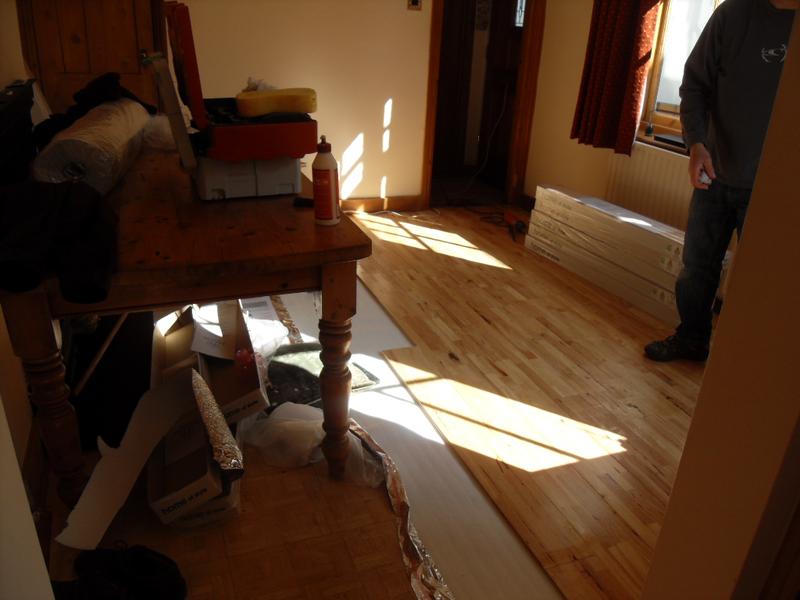
By lunch time nearly half the floor is laid
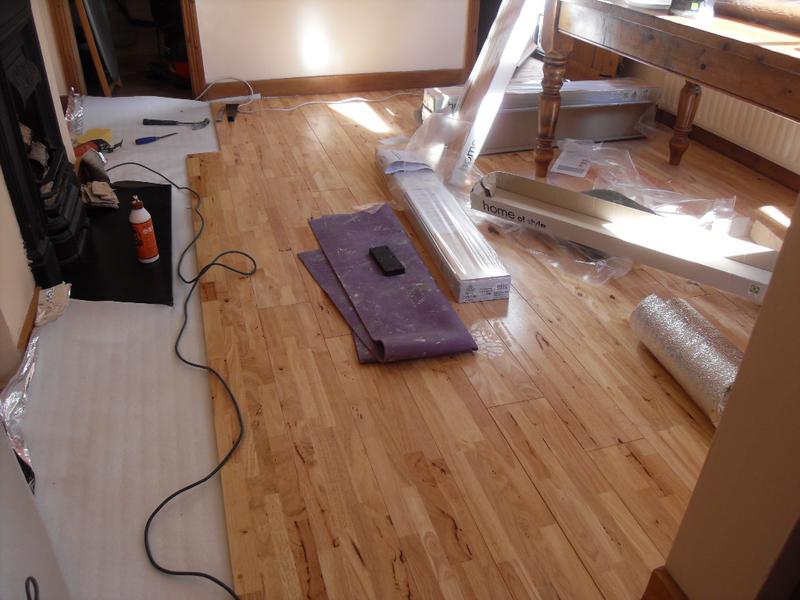
It’s three quarters done

Nearly there
By the end of the day the main part of the floor was laid. Tomorrow our man will be back to finish off. There is still the bit by the front door to do and the beading to go round the edges. It is looking good though.
Finishing the floor
Our man arrived first thing in the morning and continued his work. He laid the floor in front of the front door which was an awkward little area to do. He put the beading on the edges and by the time I got home at lunch time he had finished the floor and left.
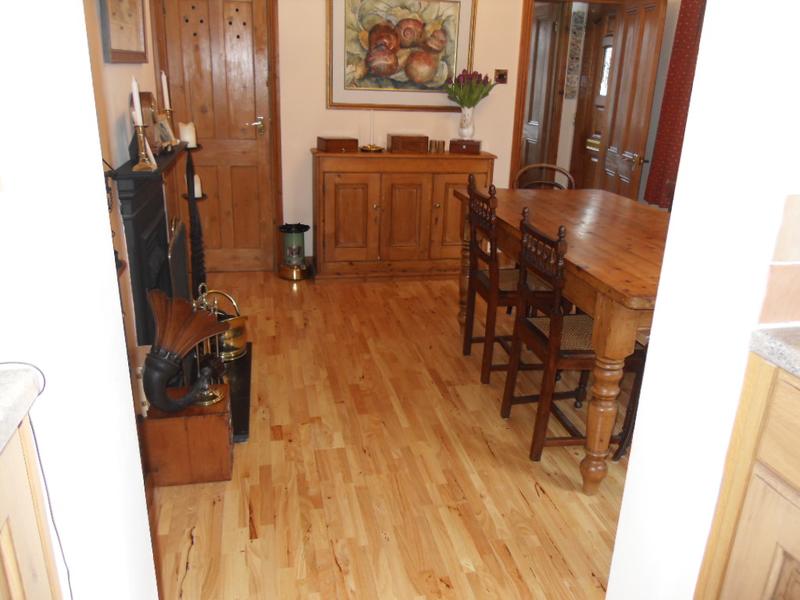
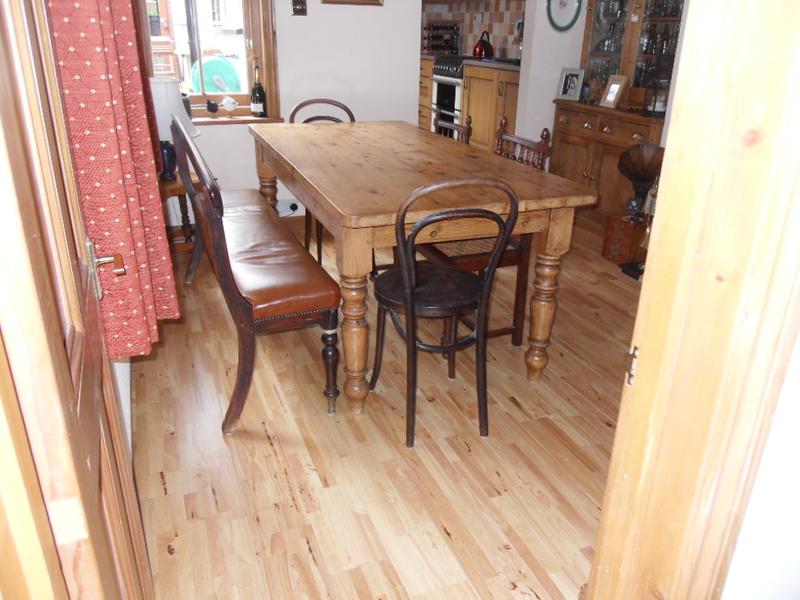
The floor is finished
The area by the front door
Looking from the other direction
We decided to use beading instead of a threshold and luckily already had this piece from another job.
A closer view from this direction
We are really pleased with the look and also the feel of it. It will be easier to keep clean and is warmer under foot as instead of just concrete underneath there is now underlay, then wood, then the concrete.
To most people this won’t seem a dramatic change but we have been in this house for nine years and in that time we have done every room to how we like it so this was just a case of replacing a tired and worn out floor. It had been stained darker originally and when we sanded it back to the lighter colour it made the room look so much lighter. This is why we wanted to replace it with something of a similar colour.
It looks smarter and will last for many years as the boards are much thicker than the original flooring. We have no intention of ever doing it again.
One of the longest jobs while doing this room was getting this piece of furniture out of the alcove and removing and dusting my antique bottle collection then getting it back in place and arranging my bottles back in. I think they look really good now that they are clean and sparkly again.
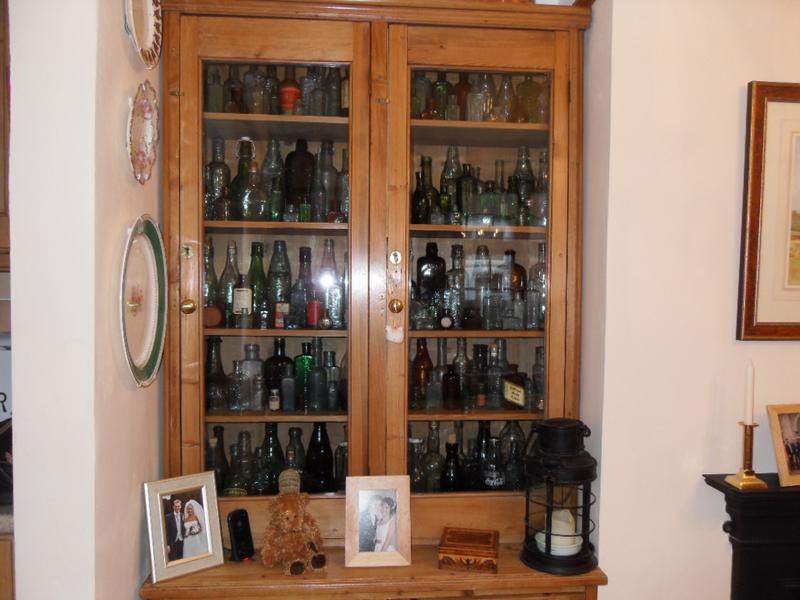
My bottle collection
We are really pleased with this floor and it has been well worth doing. Our neighbour has made a really neat job of it and will be coming back soon to start the renovations in our sitting room.
 Click here to see the history of my flock.
Did you have to saw any wood off of the cabinet to fit it back into the alcove in the end?
We did have to modify the cabinet but I thought it would be too long and boring to explain. We took the plinth off of the bottom of the cabinet which actually makes it look even more like one piece of furniture and was enough to make it fit under the picture rail as before.
After taking off the plinth Richard cut it down and put it inside the bottom of the cabinet. He then used the off cut at the bottom of the stair carpet. If you go to the photo of the bit by the front door that piece at the bottom of the stairs is the edge of the plinth. The beading there instead of a threshold is the beading that was in front of the piece of furniture which is no longer needed as it now sits on top of the new floor.
This makes the whole thing look so much neater and is actually one of the things that I am really pleased with.
I promise to wipe my feet or am I not allowed in ? Maybe straight down the path to look at feather pulled chicks.
Not at all, it’s much easier to wipe clean. It’s practical as well as pretty.