I struggled to come up with ideas for Christmas presents this year and eventually hit on the idea of giving our close family a bespoke hamper. Over time I collected either luxury items, items we particularly liked or items I knew the recipient would like.
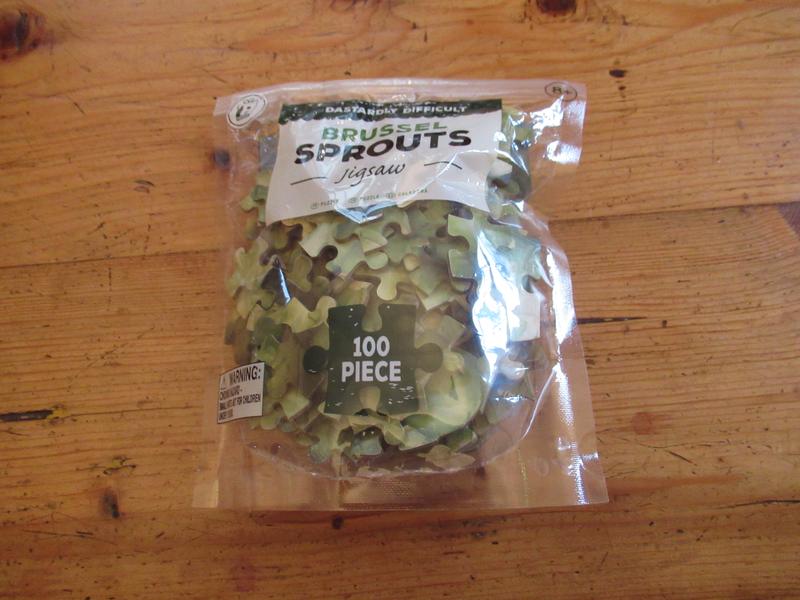
In my boy’s hampers I added a little brussel sprouts jigsaw which I thought would be fun!
After Christmas my youngest son sent a photo to my phone of the jigsaw completed.
A few days later I phoned him to arrange calling round with his birthday card and gift as his birthday is in the first week of January. I mentioned the jigsaw and he said that it wasn’t enjoyable but just really frustrating. He said they couldn’t give in without completing it but that it drove them nuts.
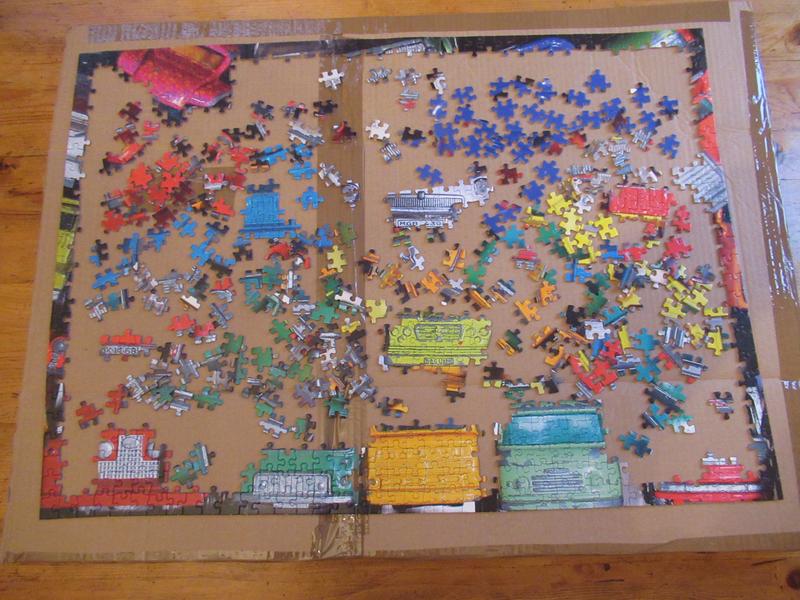
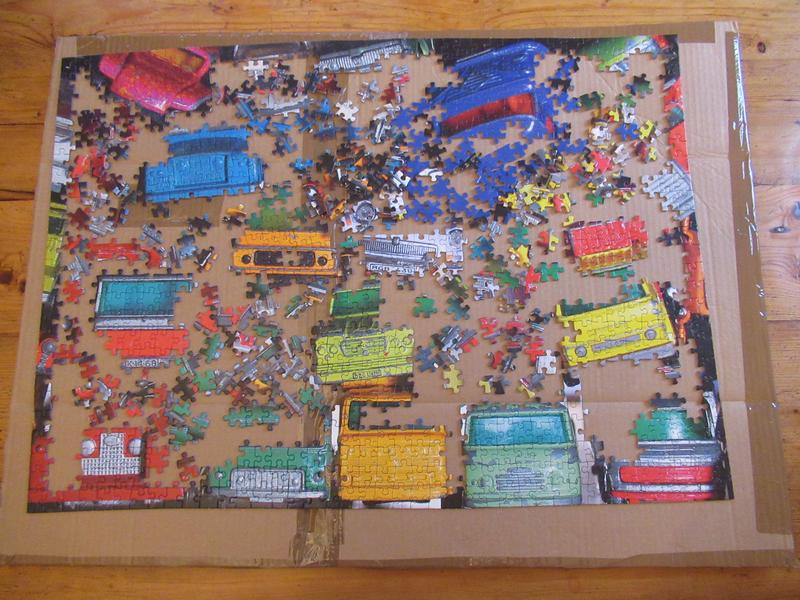
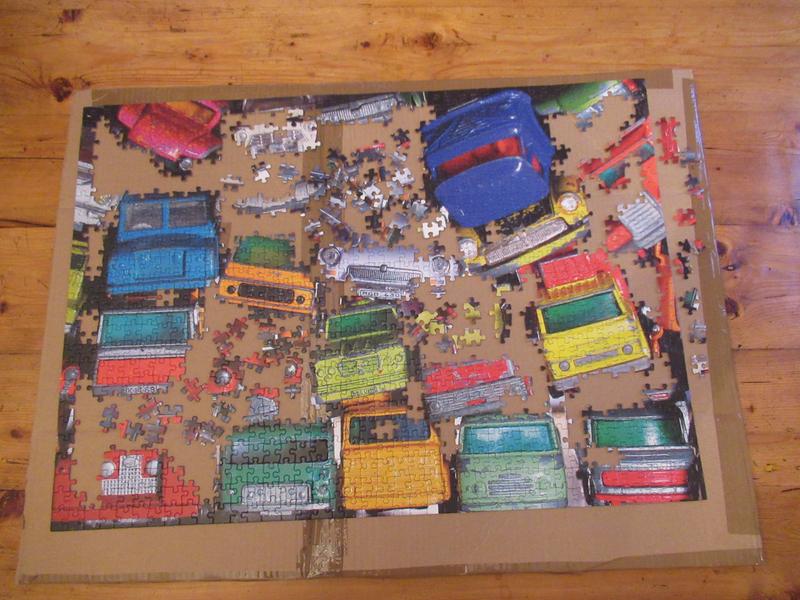
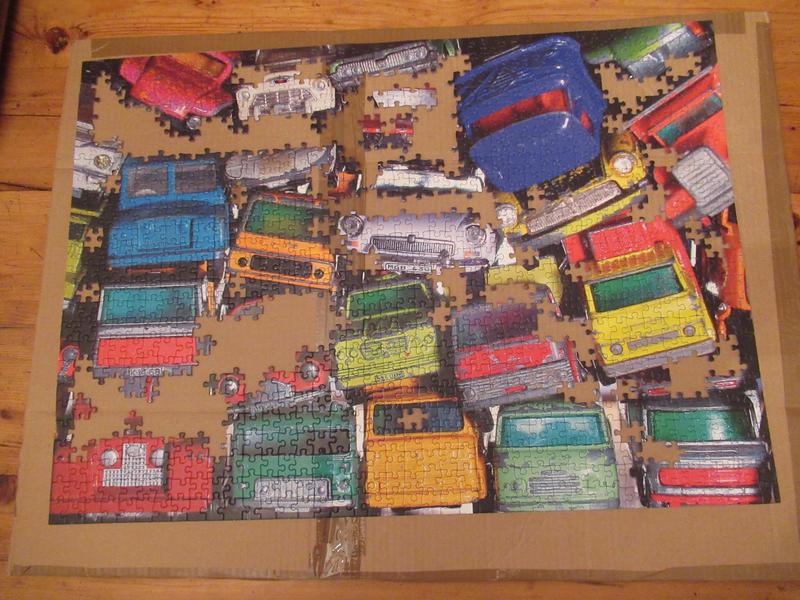
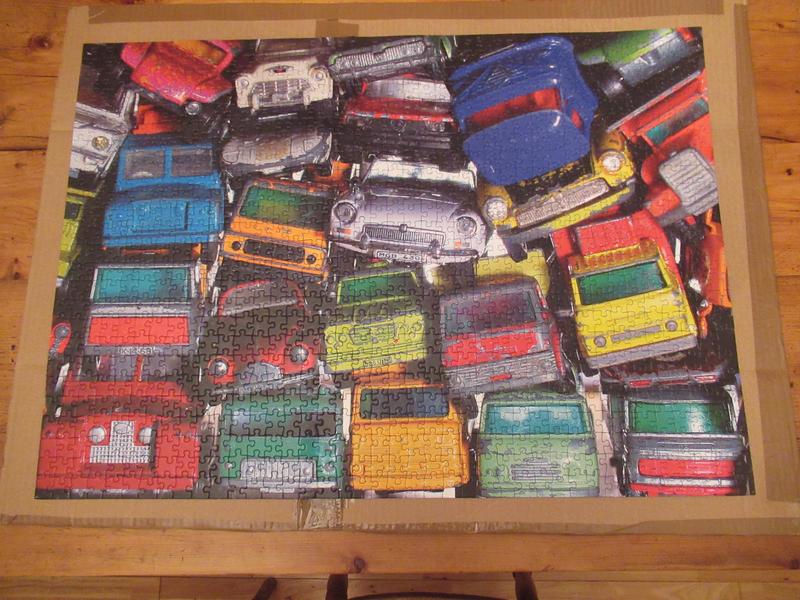
A few days later I called round with the birthday card and gift and I showed them the photo on my phone of the vintage cars jigsaw. My son gave me the brussel sprout jigsaw and said that he would bet that it was much more difficult than the car puzzle despite only having a hundred pieces.
As soon as I got back home I made a start on the jigsaw. The picture was on both sides but one side was shiny and the correct side was matt. There was no picture to follow and the outside edge was not straight but brussel sprouts shaped and of course all the pieces looked the same.
As with any jigsaw I sorted the outside pieces which were larger and curved and I managed to get the outside completed. There was a slight hiccup as not all the pieces fitted together but some just fitted side by side with straight or angled edges.
I then started to try to get the middle fitted and soon realised what my son meant. It says on the jigsaw that it is dastardly difficult and it certainly was!
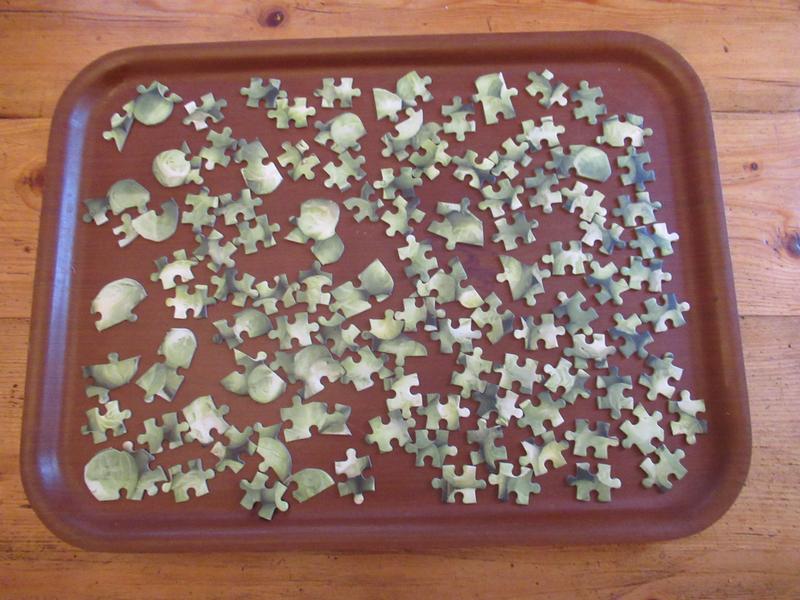
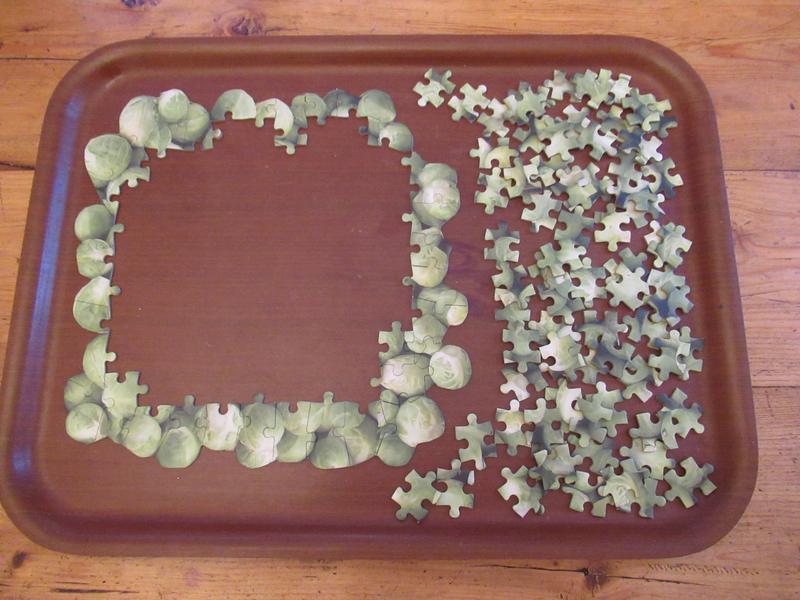
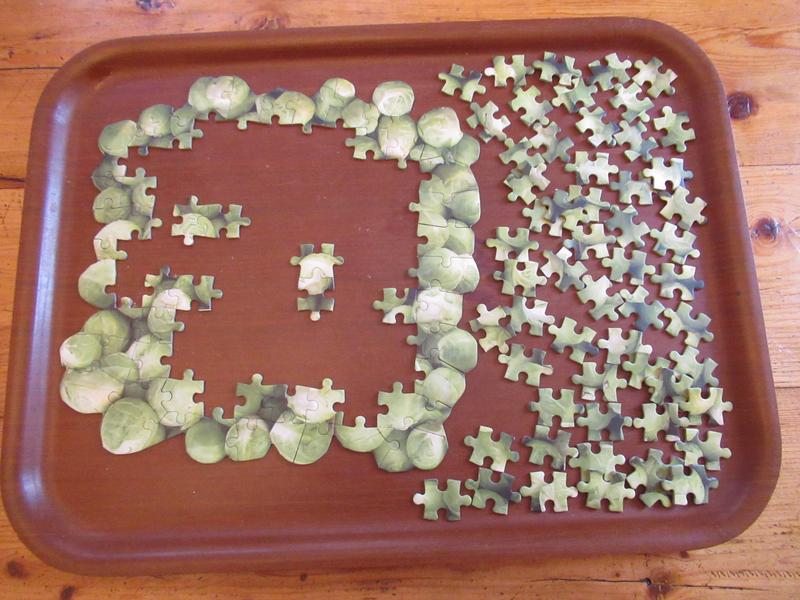
This was as far as I could get on the first day and it took as long to find the few inside pieces as it did to complete the outside. I had to give up for now.
I came back to the jigsaw the next day.
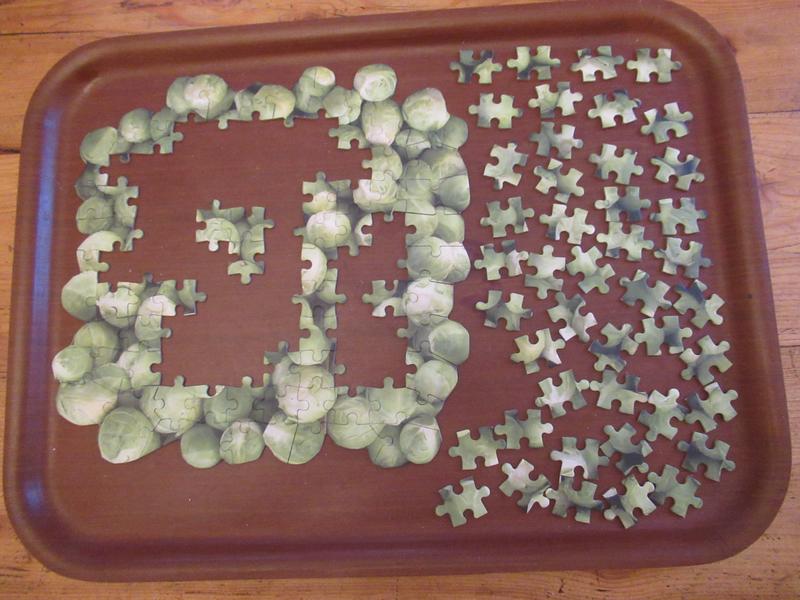
At this point I just couldn’t seem to progress. I was very close to giving up. A lot of the pieces are the same shape so they fit but you just know they are not right. It was a lot of trial and error. At this point I knew exactly what my son meant about it being frustrating rather than enjoyable.
Whereas with the car jigsaw we looked forward to continuing with it this one just made me frustrated and I wanted to give up but I hate giving up. I also felt that if my son could do it then I could do it. I kept walking away and then returning to have another go.
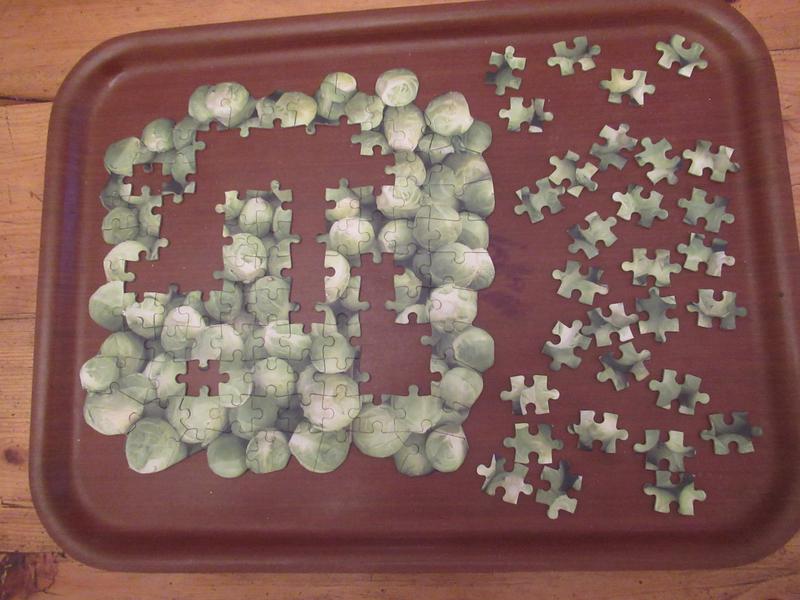
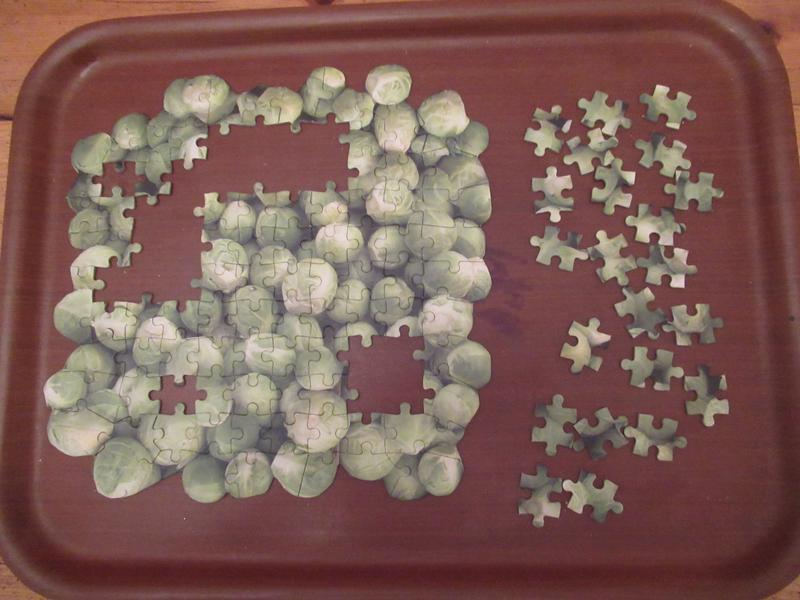
At this point I knew that I could finish it. I was amazed at how difficult it was even this far along.
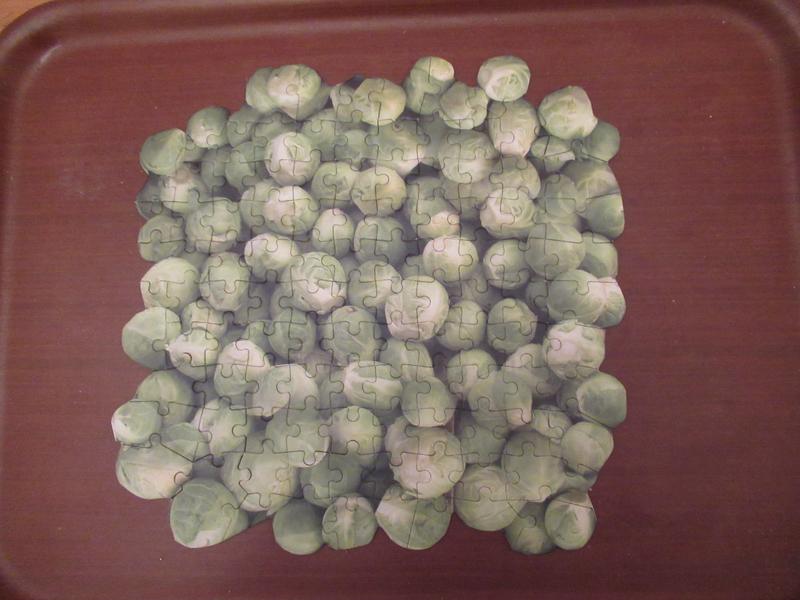
Hurrah! I was so pleased to have got it finished. That is definitely the most annoying jigsaw that I have ever done. I look forward to the next jigsaw being more fun. This one wasn’t fun it was just a challenge that I couldn’t give up on.
I never want to see this brussel sprout jigsaw again!




 Click here to see the history of my flock.